
Construction Sequence & Specifications of Aluminum Veneer Ceiling
Construction Procedure
Preparation → Site layout setting → Hanger rod installation → Light steel main & secondary keel fabrication → Connector fixing → Framework assembly → Aluminum veneer mounting → Edge finishing → Surface treatment
Key Notes
Select proper aluminum sheet thickness
Close joint style is commonly adopted for ceiling installation, follow correct mounting order
Prepare construction detail drawings, layout drawings and processing drawings in advance for intuitive construction guidance
1. Familiarize with Keel Detail Drawings
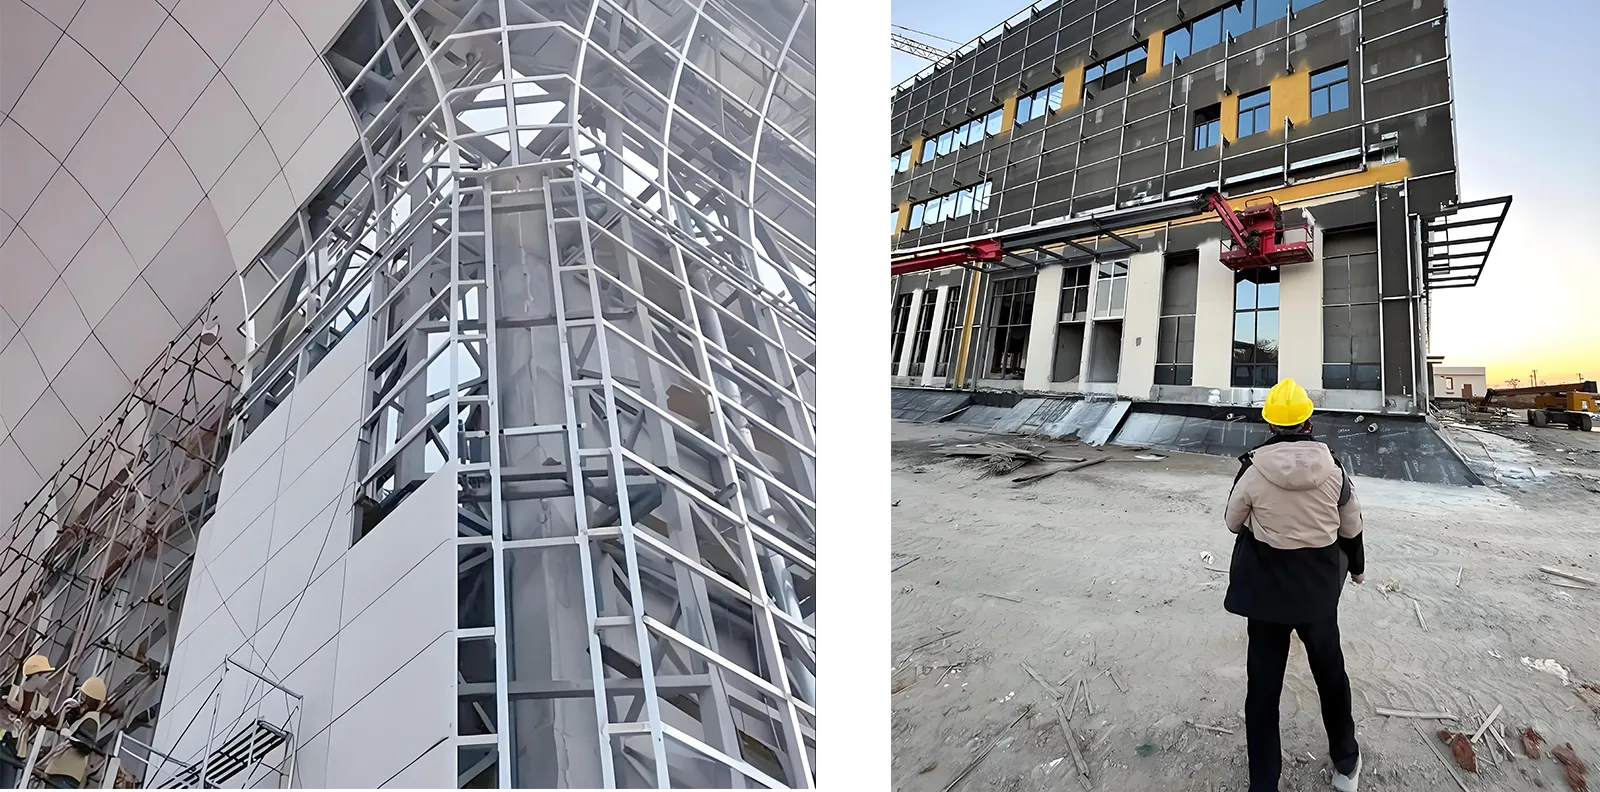
Drawings mark installation methods and technical requirements. Details vary for wall, ceiling and column wrapping applications. Keel serves as the supporting foundation, qualified keel installation guarantees smooth follow-up construction.
2. Sort Panels by Zones & Numbers per Layout Drawing
Panels are marked with colors and serial numbers on layout plans. Classify delivered panels by designated areas and codes on site. Separate starting panels and standard panels to boost installation efficiency.
3. Install Panels Sequentially by Modules
Mount aluminum veneers onto keels one by one following serial numbers in each independent zone module.
4. Inspect Panel Completeness Timely
Check missing, mismatched or discolored panels during sorting. Contact manufacturer immediately for replacement to ensure project schedule.
5. Operation Essentials
Vertical alignment & squaring: Measure and position construction surface strictly per design dimensions to confirm panel quantity and layout.
On-site dimension survey: Adjust layout according to actual field size. Produce sample wall first, formal processing starts only after sample approval.
Keel positioning marking: Draw framework mounting lines and fixing points precisely. Keel spacing keeps around 500mm perpendicular to panels. Grid type keel is required for large-area square panel installation. Verify structural dimension and revise errors before overall layout marking.
Expansion bolt & connector installation: Expansion bolts are widely used for accurate positioning. Weld connectors with embedded parts alternatively. Use wood wedges for wooden framework fixation.

6. Keel Framework Installation
Available framework materials: section steel, light steel, aluminum alloy and wood. Fasten components via bolts or welding. Constantly check elevation and central line position during assembly.
Correct verticality and flatness of high external wall framework with plumb bob and measuring instruments. Properly handle deformation joints, settlement joints and variable cross-sections.
Conduct anti-rust and anti-corrosion treatment on all framework surfaces. Apply anti-rust paint on welding seams. Keep hidden construction records including welding parameters, bolt quantity and embedding depth. Conduct pull-out resistance test when necessary.
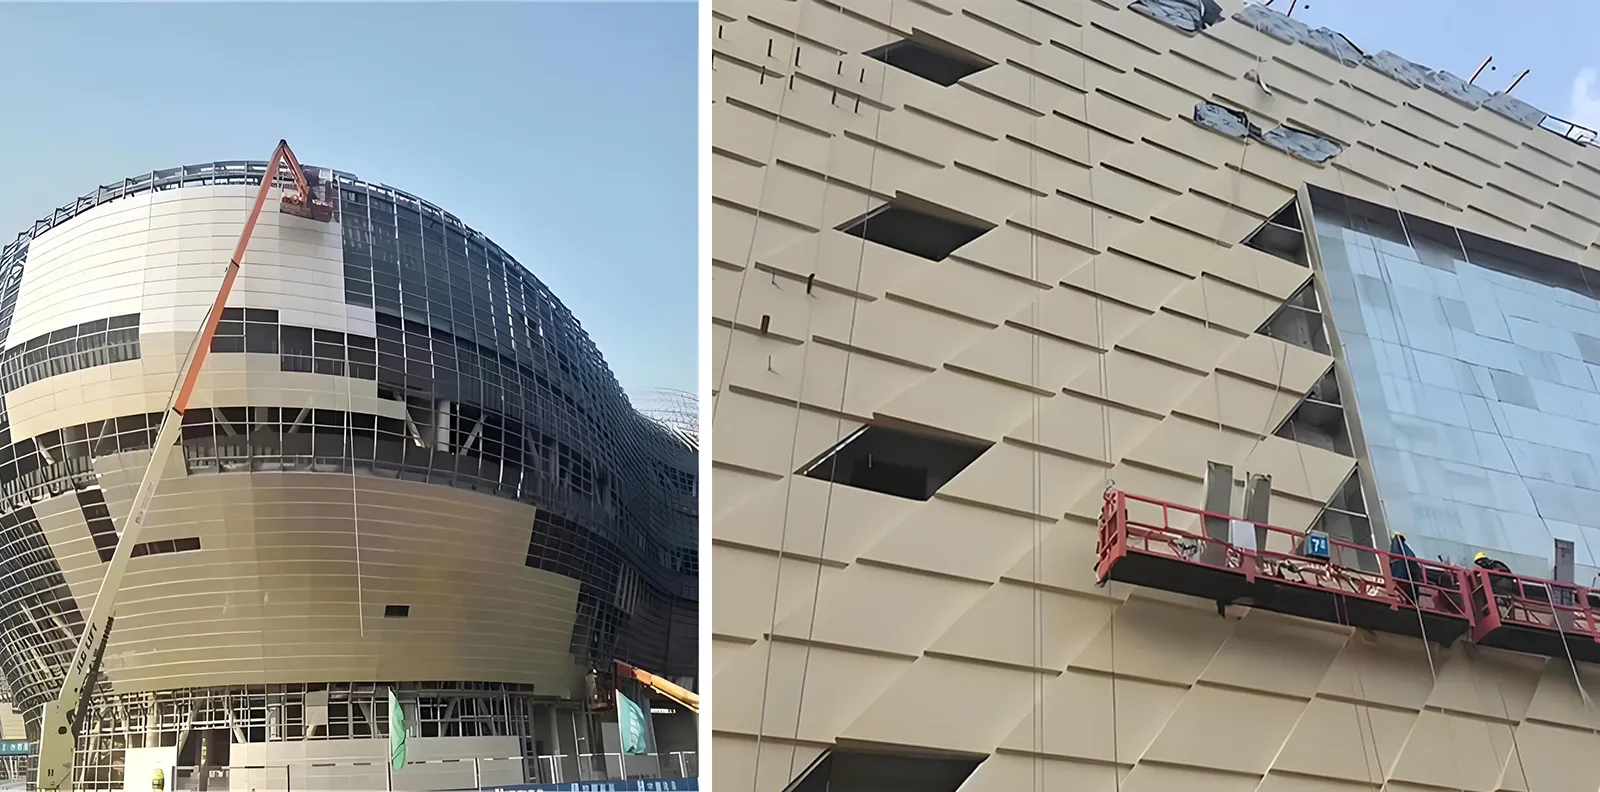
7. Aluminum Veneer Installation
Fasten panels with blind aluminum rivets equipped with rubber gaskets, rivet spacing: 100~150mm. Pre-drill holes before self-tapping screw fixation. Wood screws apply to wooden framework connection.
Conceal fasteners by inserting one panel edge into the groove of adjacent panel. Adopt lapped joint instead of butt joint with qualified overlap width to avoid gaps.
8. Seam Sealing & Edge Treatment
Reserve 10~20mm gaps between panels. Fill gaps with rubber strips or sealant. Prefabricated corner profiles are used for internal and external corners, overlapping direction conforms to prevailing wind direction.
9. Special Position Finishing
Install aluminum alloy or channel steel cover plates on coping, terminal ends, expansion joints and settlement joints for aesthetic and waterproof performance.
10. Finished Product Protection
Keep original protective film intact during construction, peel off within one month to avoid residual glue and oxidation. Cover uncoated panels with plastic film. Set protective railings on vulnerable parts until project handover.
11. Completion Acceptance
Carry out self-inspection after construction completion. Sort and archive relevant documents for final acceptance check.
Quality Standards
Main Control Items
Panel type, specification, color and performance comply with design requirements.
Quantity, position, connection mode and anti-corrosion treatment of embedded parts and connectors meet design standard. Mounting strength is reliable and firm.
Inspection methods: Manual check, verify delivery documents, pull-out test reports and hidden work records.
General Items
Smooth, clean and uniform panel surface without cracks or damages. Inspection: Visual observation.
Compact and neat caulking with standard gap size. Inspection: Observation & dimensional measurement.
Safety Regulations
Inspect construction tools thoroughly before use.
Equip electric tools with leakage protector and conduct insulation test.
Wear safety helmet, safety belt and tool bag for all staff.
Place spark catcher underneath welding positions.
General Construction Precautions
Apply lapped joint construction. Overlap direction follows water flow and prevailing wind.
Rivet spacing: 100~150mm; screw spacing for steel keel: around 500mm.
Seal expansion and settlement joints with neoprene belt for water resistance.
Implement anti-rust treatment on all connection and welding positions.